

Sit back and let FeedbackExpress' feature automatically gather feedback from your eBay customers. All you have to do is set it up. We'll show you how.
This help file will show you how to create Feedback rules for eBay orders.
Before you start
Note: Disable the tool “Grammarly” if you happen to use it, as it can break the formatting of Feedback messages.
01 How does FeedbackExpress work?
FeedbackExpress lets you gather customer feedback with minimal effort. You simply instruct FeedbackExpress to automatically send a feedback request to customers at a point in time after every order has been placed or dispatched.To find out more about how FeedbackExpress works, click here.
02 Creating Feedback Rules for eBay orders
1. Go to Feedback → Rules.
2. Select Create a Rule.
 Pro Tip: you can easily activate or deactivate a Rule using the Status button on-screen.
3. A popup is displayed, which allows you to choose the marketplace for the new Feedback rule. Select eBay.
4. A popup is displayed, which allows you to choose whether to create a new Feedback rule from:
- the FeedbackExpress rule, which is one single message crafted by our team to get started quickly (Feedback about your recent eBay order with #channel_title#).
- the Default rule, which we’ve created to help you get started quickly. You can change the rule to suit your needs.
- a Blank rule that has no pre-configured fields and that will allow you to create the rule from scratch.
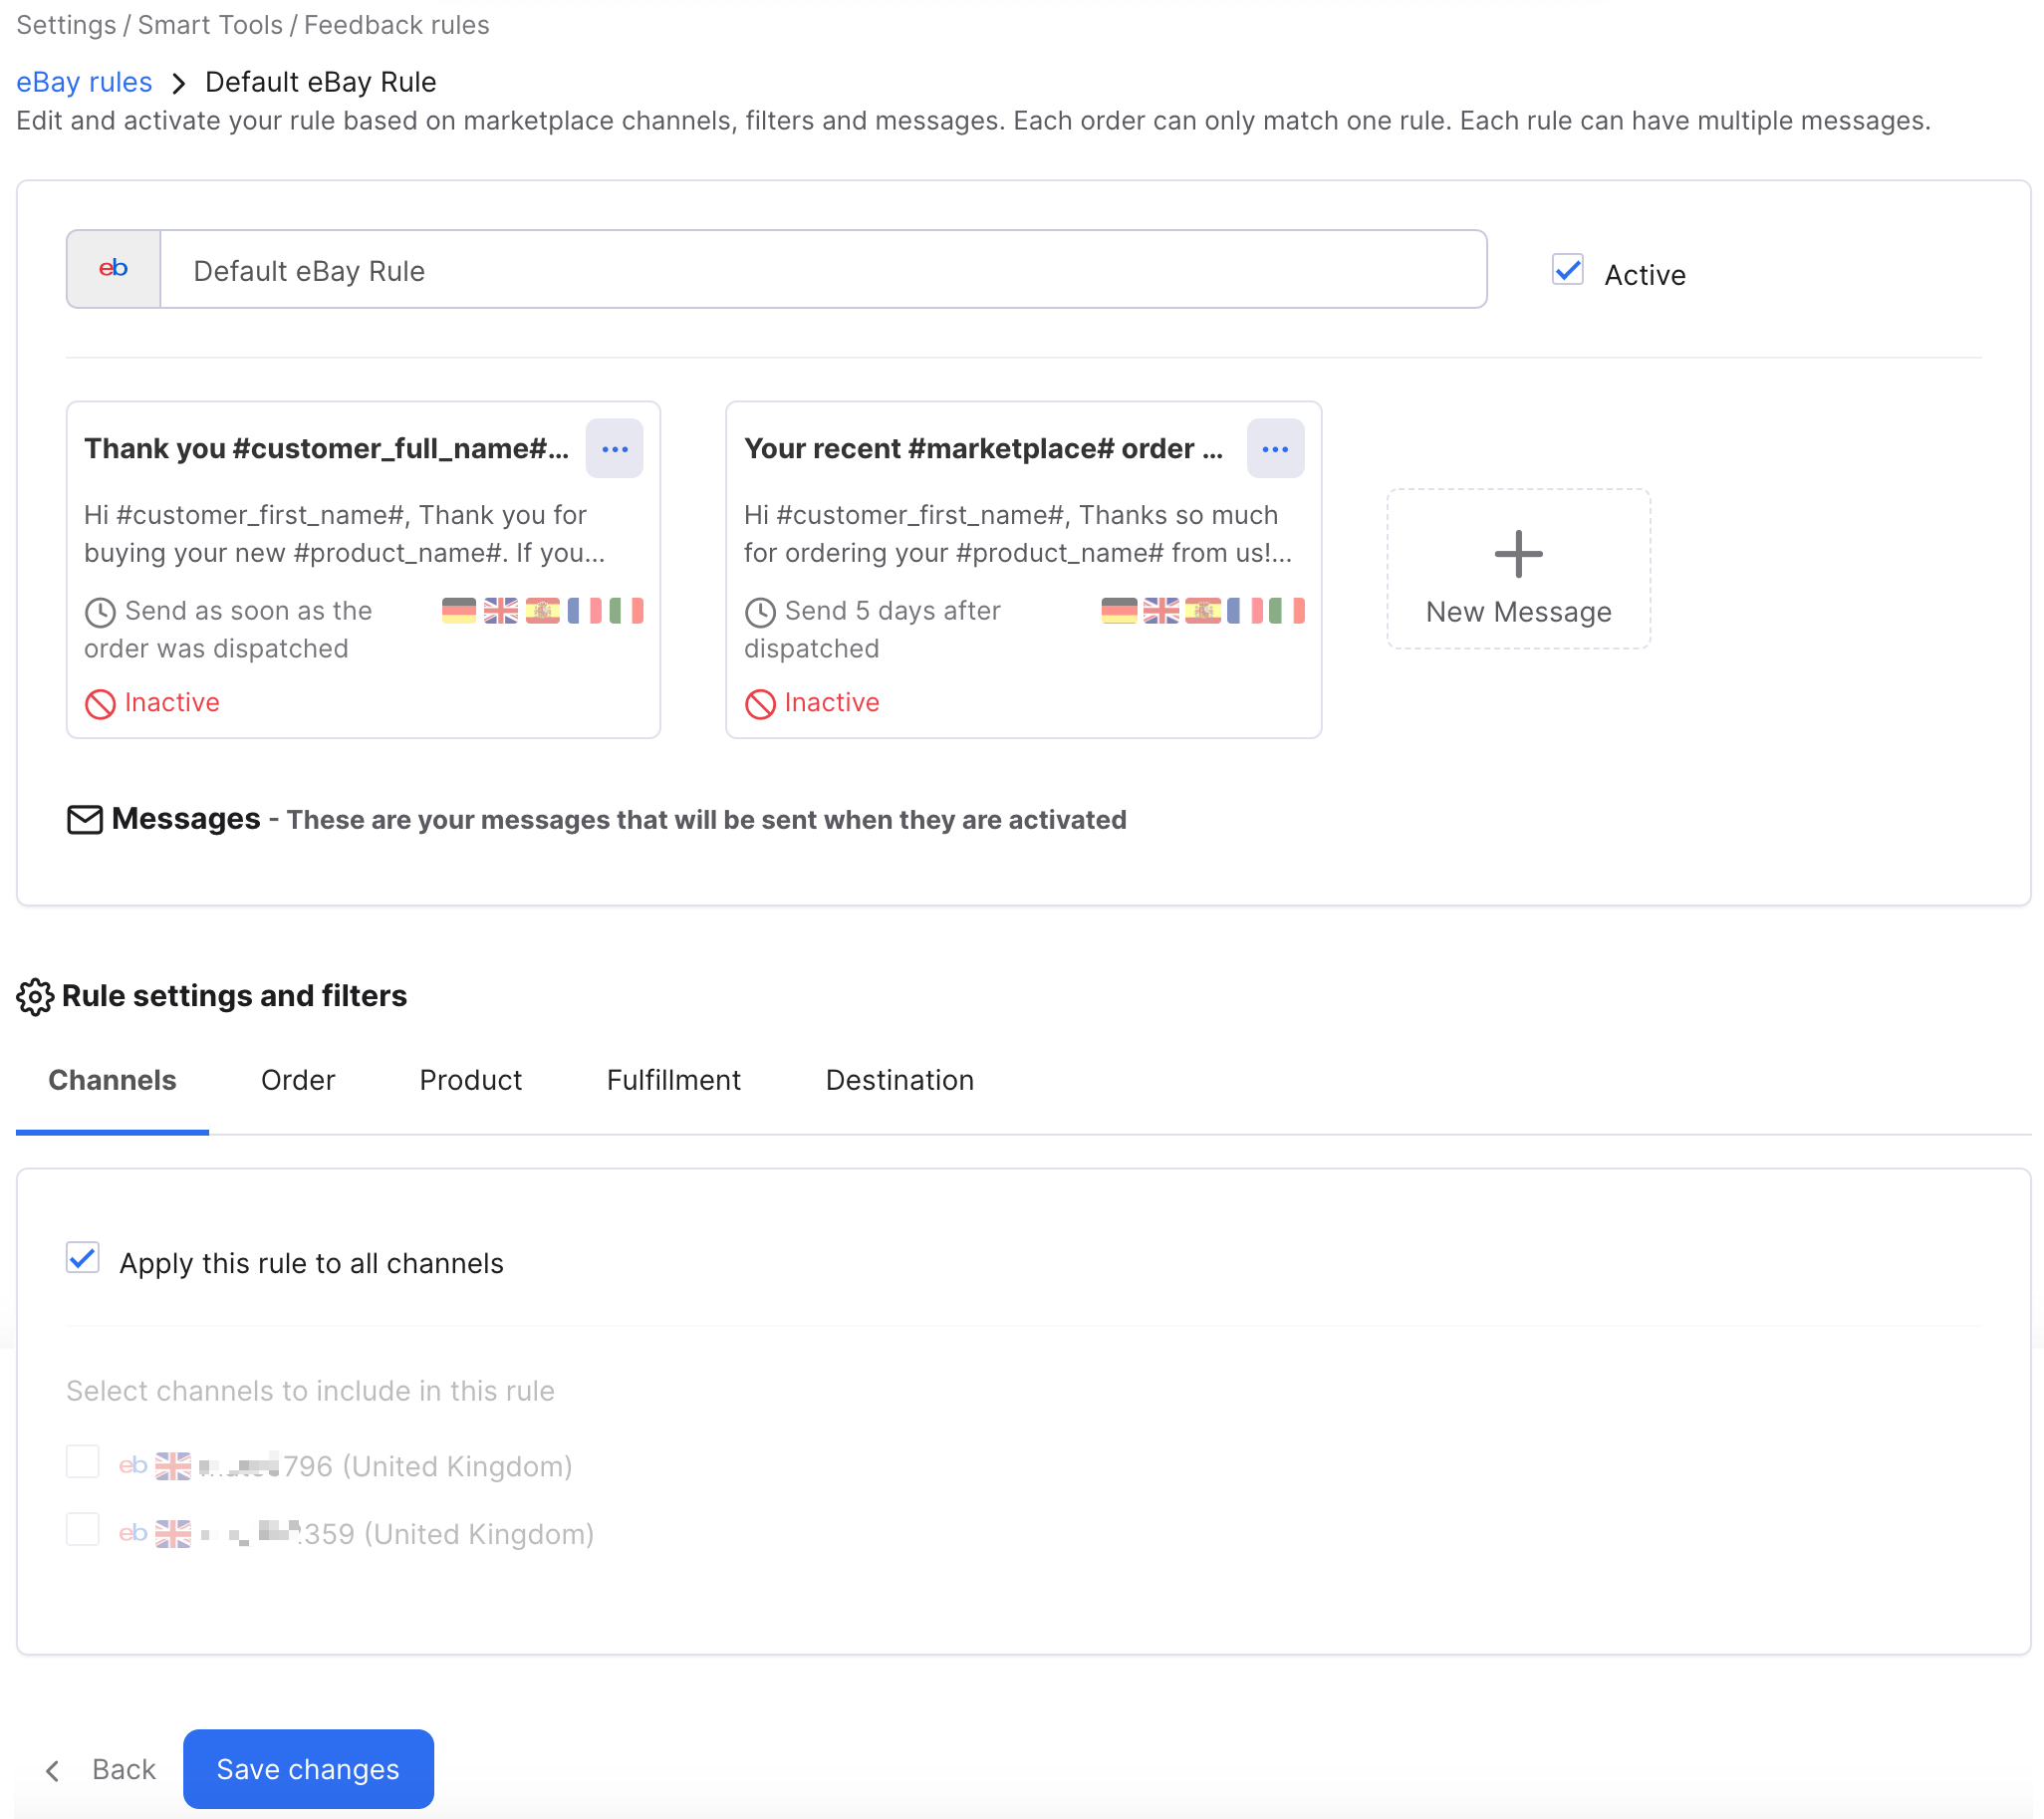
To edit a Message template from the Default eBay rule, click on the message in the rule to open the Message fields for editing.
6. Now you can enter the message that will be sent to customers. You can include special eBay snippets to personalize the message, by typing # and then selecting the snippet from a menu. To learn all about eBay snippets, click here.

-
Subject
Enter an eye-catching subject to grab your customer's attention. -
Language
Choose the language this message will be written in. This will be the default language. After it has been saved, you can add additional languages. This ensures that the language of the message received by the buyer matches the marketplace language. You must write the message body in that language - it will not be automatically translated. -
Message
Add your message body. Ensure you have laid out the goals and used a clear and concise message to ensure the engagement rate is high.
03 Message Conditions
Once you have created the message, the next step is to set some conditions that determine when and for which product(s) your message will be sent. These are displayed below the message fields. There are plenty of options to choose from.
1. Configure the following:
- When to send? … but not more than …
Choosing when to send is very important as you want to ensure the message corresponds to whether their order has arrived or not.
For example 5 days after dispatch . . but no more than 5 days after that.
This means the message will send between 5 and 10 days after the product was ordered
- Ordered on Feb 1st
- Dispatched Feb 2nd
- Message will send between Feb 7th and Feb 12th
This is also where you can set up Feedback requests for past orders that were Placed or Despatched up till 89 days ago.
To set up Feedback Rules for past orders, enter the number of days into the But not more than… days after that time field.
For example, setting 5 days after dispatch . . but no more than 60 days after that will trigger the rule for orders dispatched in the last 2 months.
- Send on these days
Select which days you would like your feedback request to be sent.
- Send only between these times
Similar to sending to customers on specific days, you can specify the times to send your messages.
- Send to users with existing feedback
If a customer has previously left feedback, you can choose to include/exclude them from receiving another feedback request from you.
- On-time delivery
Select whether to send a feedback request based on the order being dispatched on time or not.
- Order Tracking
If your orders have tracking codes attached, you can choose for the message to only send if these tracking codes are available.
- Product ASIN (Amazon only)
You can specify products to include or exclude from a particular Feedback Rule by checking the Rule settings and filters section.
You can tick the Exclude Product IDs option within the section if you wanted to exclude the products instead of targetting them. This will be done on a Feedback Rule level so it will apply to every single message sent.

2. By ticking the Activate the message for sending checkbox, you will make the message active. This means that as soon as the rule is activated (see final step), this message will be added to the Scheduled to Send queue for any orders that match the conditions in the rule and message. If you're not ready for this yet, just leave it unticked, and you can go in and activate the message later on when you are ready. All active messages in the rule will be scheduled to send if an order matches the rule. You can intervene to stop a message from being sent if necessary; click here to find out how.
3. Click Save Message. The message is added to the list of messages in the Feedback rule.

4. If needed, you can edit the message to add versions in different languages. To do so, reopen the message and click Add new translation.
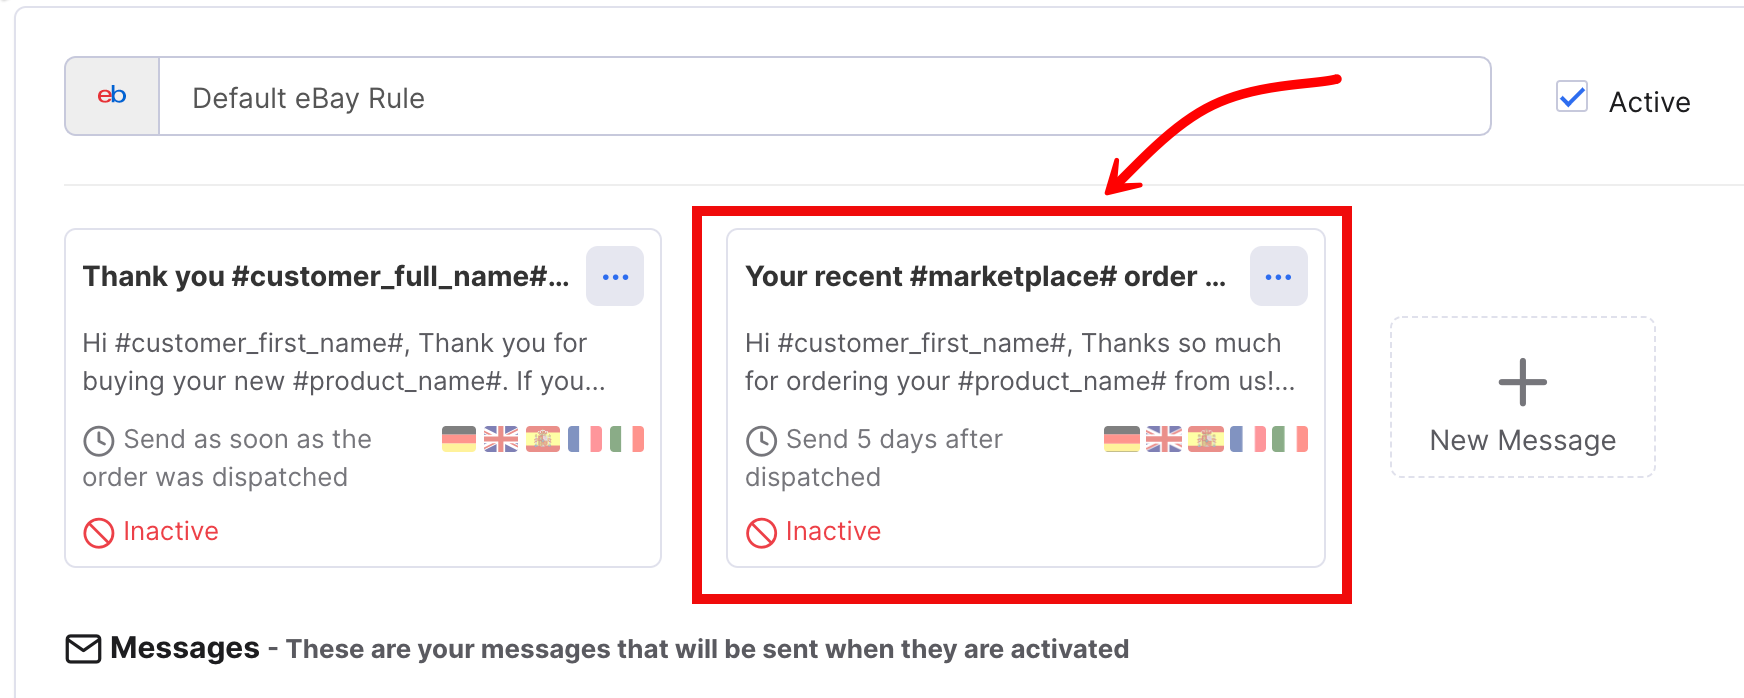
5. You can add further messages to the rule. For example, you might want to send an Order Dispatched message on day 1, a Seller Review message on day 4, and a Product Review message on day 10. To create another message, click New Message.
6. In the example above, the rule is called Default eBay Rule. If required, you can edit the rule name so that it is easy to identify each of the different rules in the list on the Feedback Rules page. The customers see only the messages they receive; all rule settings including the rule name are not visible to the customer.
Once this is done, click Save changes. Your new Feedback Rule is ready for use!


